The Ultimate Guide to Plantation Shutters
What you'll learn
- The three material families — wood, composite, and vinyl — and which suits Florida rooms.
- How louver size changes the view, the light, and the look.
- Frame and mount options, and how they affect the finished appearance.
- What actually drives shutter cost, so you can plan a realistic budget.
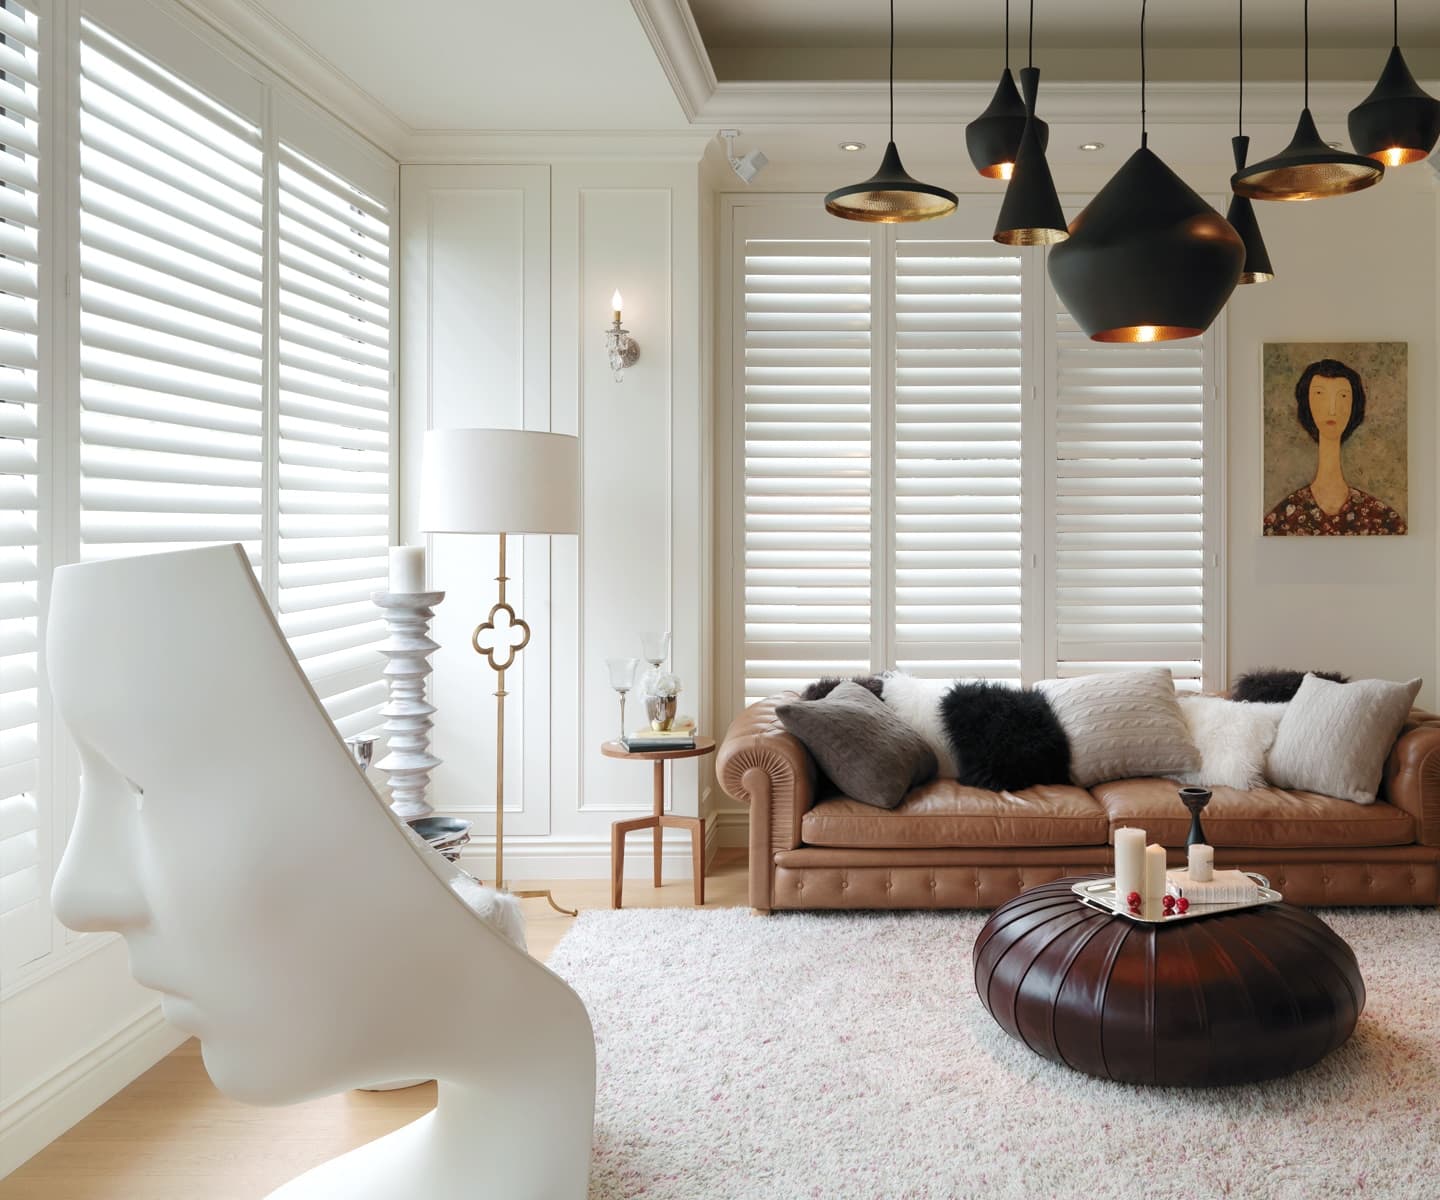
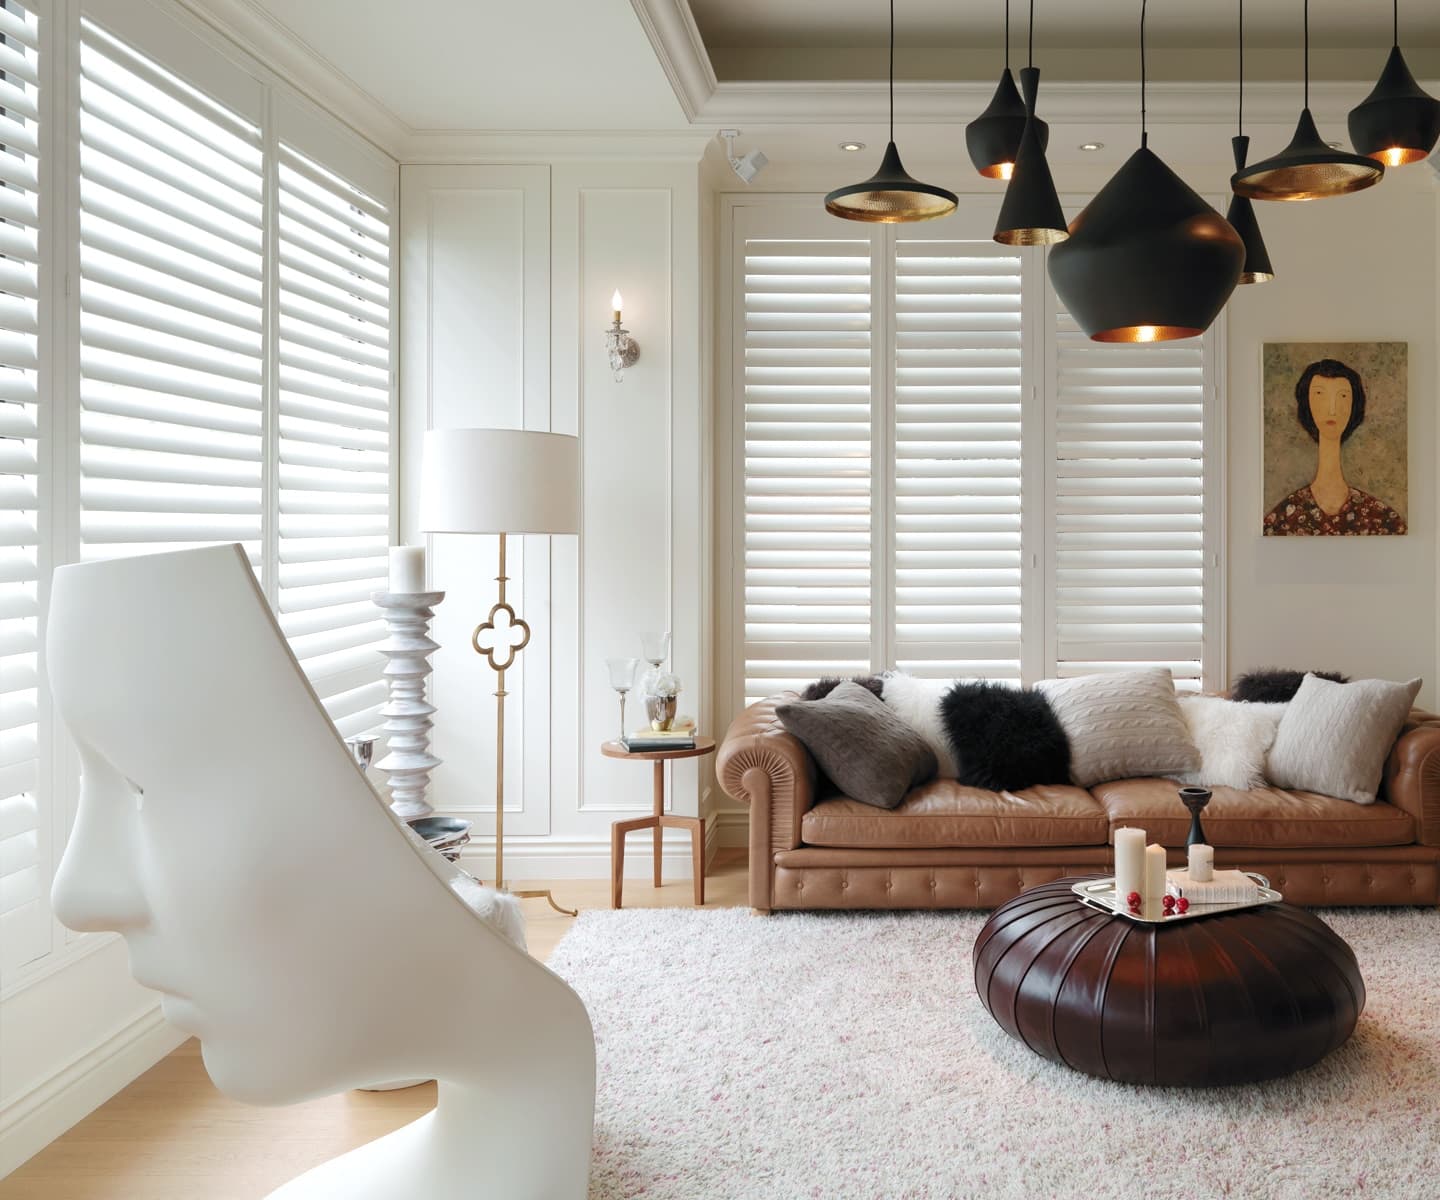
Plantation shutters are the most permanent, architectural window treatment you can add to a home — closer to built-in cabinetry than to a shade you swap out in a few years. They also hold their value especially well in the Sarasota market. Because they are a long-term investment, it is worth understanding what actually separates a great shutter from a mediocre one before you buy. This guide walks through every decision the way we do on an in-home consultation.
Step 1: Choose the Right Material
Material is the single biggest decision, because it drives durability, look, and price. In our climate it also determines how well the shutter survives heat and humidity over time.
| Material | Best for | Florida notes |
|---|---|---|
| Engineered / composite | Most rooms, best all-around value | Resists warping, fading, and moisture — our most-recommended choice |
| Real hardwood | Large louvers, premium stained finishes | Beautiful in dry, conditioned rooms; avoid high-moisture areas |
| Vinyl / poly | Baths, kitchens, budget projects | Fully moisture-proof, great in wet rooms, fewer size and color options |
Step 2: Pick a Louver Size
Louver size sets the personality of the shutter. Larger louvers give a cleaner, more contemporary look and preserve more of the view when open; smaller louvers feel more traditional and suit smaller windows.
- 2.5" — traditional look, well suited to smaller or historic windows.
- 3.5" — the most popular all-purpose size; balanced view and light control.
- 4.5" — the widest common option; maximum view-through and a bold, modern feel on large windows.
Step 3: Frames, Mounts & Specialty Shapes
The frame and mount determine how the shutter meets your window and how finished it looks. We measure and recommend the right approach for each opening.
- 1
Inside vs outside mount
Inside mount sits cleanly within the window recess for a built-in look; outside mount covers the opening and can make a window look larger or hide an out-of-square frame.
- 2
Frame style
From minimal L-frames to decorative frames that add trim character — chosen to match your casing and trim.
- 3
Divider rails & tilt
A divider rail lets the top and bottom louvers operate independently for privacy with light; hidden tilt gives a clean, uninterrupted louver face.
- 4
Specialty shapes
Arches, angles, and French-door cutouts are all possible with custom shutters — something stock panels can't do.
Step 4: Finishes
Painted whites and off-whites are timeless and brighten a room; stains show off real-wood grain for a warmer, more traditional feel. We bring finish samples so you can see them against your walls and flooring in your own light.
What Drives the Cost
- Material — composite and hardwood cost more than vinyl.
- Size and number of windows — larger openings and higher counts add up.
- Specialty shapes and custom finishes — arches, angles, and stains add labor.
- Mounting complexity — out-of-square or hard-to-reach openings take more time.
Ready to put this into practice?
Book a free in-home design consultation and we'll help you apply what you've learned to your specific rooms, light, and budget.